


You will learn essential steps for efficient trimmer line replacement. This guide helps you confidently maintain your trimmer’s performance. It covers various trimmer types. You can easily master this crucial task. Confidently replace your trimmer line for extended tool life and better results.
Key Takeaways
- Always put safety first. Disconnect power and wear protective gear before you start.
- Choose the right trimmer line. Match its size and shape to your trimmer and the plants you cut.
- Learn how to replace the line for your trimmer type. This keeps your tool working well.
Essential Preparations for Trimmer Line Replacement
Before you begin replacing your trimmer line, take a few moments for important preparations. These steps ensure your safety and make the job easier. Proper preparation saves you time and prevents frustration.
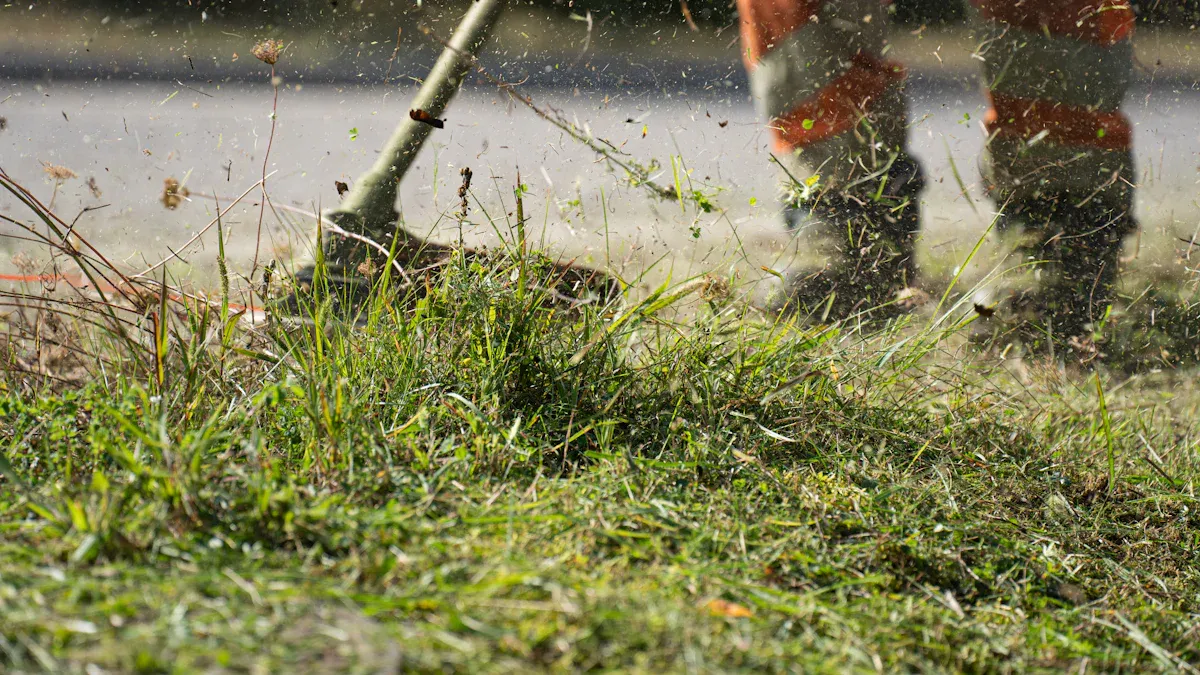
Prioritizing Safety Before Starting
Your safety is always the top priority. First, disconnect the power source from your trimmer. If you have an electric trimmer, unplug it from the outlet. For gas-powered trimmers, remove the spark plug wire. This prevents accidental starts. Next, wear appropriate personal protective equipment (PPE). Put on safety glasses to protect your eyes from debris. Gloves also protect your hands from cuts and scrapes. You should also wear long pants and sturdy shoes. These items offer additional protection.
Gathering Your Trimmer Line Tools
Gathering your tools beforehand makes the replacement process smooth. You will need your new trimmer line. Make sure it is the correct diameter for your specific trimmer model. Check your trimmer’s manual if you are unsure. You might also need a pair of scissors or a utility knife. These tools help you cut the trimmer line to the correct length. Sometimes, pliers are useful for removing stubborn pieces of old line. Keep a clean cloth nearby to wipe away any dirt or grass clippings. Having everything ready prevents interruptions.

Understanding Trimmer Heads and Choosing the Right Trimmer Line
Exploring Different Trimmer Head Mechanisms
You will encounter various trimmer head designs. Each design has a specific way to feed the cutting line. Knowing your trimmer’s head type makes trimmer line replacement simple.
Many trimmers use a bump feed head. With this design, you gently tap the head on the ground. This action releases a small amount of new line. It is a very common and user-friendly system.
Tip: Always refer to your trimmer’s manual. It shows the exact head type you have.
Other trimmers feature an automatic feed head. This head extends the line without your intervention. It uses the trimmer’s rotation or a small internal mechanism. You do not need to stop or tap the trimmer.
Then, you have fixed heads. These heads require you to insert individual, pre-cut pieces of line. You replace each piece as it wears down. This method is straightforward and often found on lighter-duty trimmers.
Selecting the Optimal Trimmer Line
Choosing the correct cutting line is vital for good performance. The right line ensures efficient cutting and protects your tool.
Always consult your trimmer’s manual for the recommended line diameter. This measurement is critical. Using a line that is too thick can strain your motor. A line that is too thin will break easily.
Consider the shape of the cutting line. Round line is durable and good for general use. Square or star-shaped lines have sharper edges. They cut through tougher weeds more effectively. Twisted or serrated lines offer increased cutting power and can reduce noise.
The material is typically nylon. Some premium lines include reinforced cores for extra strength and longevity. Select a trimmer line that matches the type of vegetation you usually cut. This choice directly impacts your trimming results.
Step-by-Step Trimmer Line Replacement and Troubleshooting
You now understand your trimmer head and have the right line. It is time to replace the line. Follow these steps carefully. You will get your trimmer ready for action.
Refilling a Bump Feed Trimmer Line Head
Refilling a bump feed head is a common task. You can do it quickly with practice.
- Remove the Spool: First, remove the spool. Press the tabs on the side of the head. Pull the cover off.
- Clear Old Line: Take out the old spool. Discard any remaining old trimmer line.
- Prepare New Line: Get your new trimmer line. Find the small holes on the spool.
- Wind the Line: Insert one end of the line into a hole. Wind the line neatly and tightly onto the spool. Wind in the direction of the arrow on the spool. Leave about 6 inches unwound.
- Thread the Line: Insert the end of the line into the outer eyelet on the head.
- Reassemble: Place the spool back into the head. Make sure it sits correctly.
- Secure the Cover: Align the tabs on the cover. Push the cover back on until it clicks.
- Test Feed: Pull the line gently. It should extend easily.
- Trim Excess: Trim any excess line with the cutter on the guard.
Replacing Trimmer Line on a Fixed Head
Fixed heads are very straightforward. You insert pre-cut pieces of line.
- Remove Old Pieces: First, remove any old, broken pieces of line. Pull them out from the eyelets or slots.
- Cut New Line: Cut new pieces of line. Refer to your manual for the correct length.
- Insert New Line: Most fixed heads have eyelets or slots. Push one end of the new line into an eyelet. Push it through until it is centered. The line should have equal lengths on both sides.
- Repeat: Repeat this process for all eyelets.
- Check Security: Ensure the lines are secure. Give them a gentle tug. They should not pull out easily.
Troubleshooting Common Trimmer Line Issues
Sometimes you face problems with your trimmer line. Do not worry. Most issues have simple fixes.
- Line breaks too often:
- You might hit hard objects. Avoid fences or rocks.
- The line could be too old. Old line becomes brittle. Replace it with fresh line.
- Your line might be too thin. Use the recommended diameter.
- Line does not feed:
- The line might be tangled inside the spool. Remove the spool. Rewind the line neatly.
- Dirt or debris can block the eyelets. Clean them out.
- The spring in a bump feed head might be stuck. Check its movement.
- Trimmer vibrates excessively:
- The line might be uneven. Make sure both sides of the line are the same length.
- A bent shaft can cause vibration. Check for damage.
These tips help you keep your trimmer working well. You can maintain your tool’s performance with these simple solutions.
You now confidently maintain your trimmer’s performance. Proper trimmer line replacement is a simple task. You master this essential skill. Your trimmer will have an extended lifespan. This ensures efficient yard work. You can tackle any trimming job with ease, thanks to your knowledge of trimmer line.
FAQ
How often should you replace your trimmer line?
You should replace your trimmer line when it wears down. Replace it if it becomes brittle. Old line breaks easily. Fresh line cuts better.
Can you use any trimmer line in your trimmer?
No, you cannot use just any trimmer line. You must use the correct diameter. Check your trimmer’s manual. Using the wrong size can damage your tool.
What if your trimmer line keeps breaking?
Your line might be too thin. Use a thicker line. You could be hitting hard objects. Avoid fences and rocks. Old, dry line also breaks easily. Store it properly.
Post time: Dec-15-2025