


You want your yard to look its best. Using the right trimmer line helps you get clean edges and remove tough weeds with less effort. Proper care keeps your equipment running smoothly. You can achieve sharper cuts and save time on every job.
Key Takeaways
- Choose a high-quality .120 inch nylon trimmer line that fits your trimmer to ensure durability and smooth cutting.
- Use steady, controlled trimming motions and keep the trimmer head level or slightly angled for clean, even edges.
- Inspect your trimmer line before use, store it properly, and replace it when worn to keep your equipment working well.
Choosing the Right Trimmer Line
Material and Durability
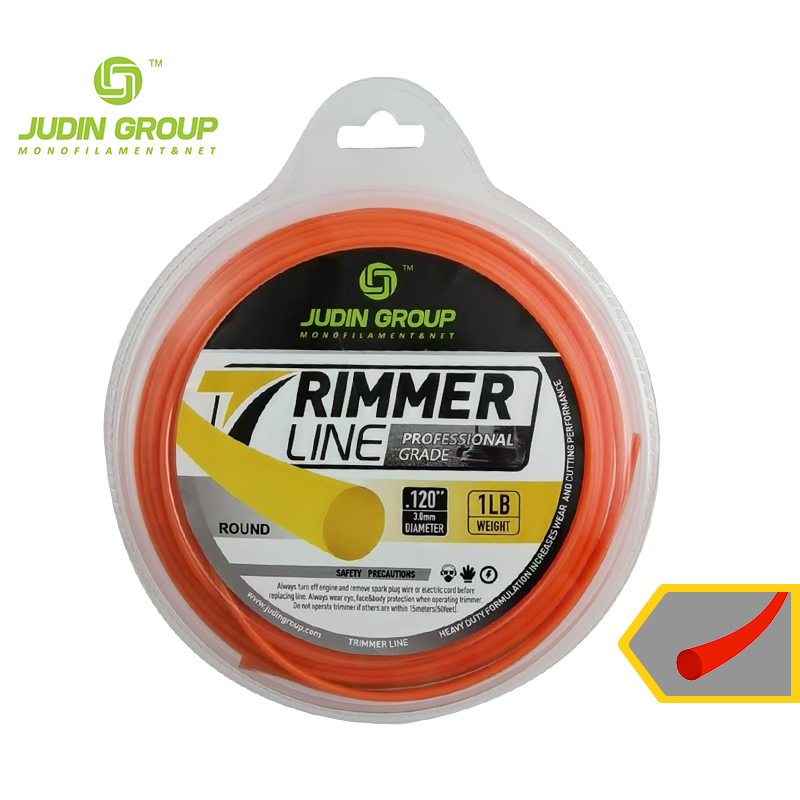
You want a trimmer line that lasts through tough jobs. The material makes a big difference. High-quality nylon, like the one used in Judin’s .120 inch Round Card Head Trimmer Line, stands up to heavy use. It resists breaking and keeps its shape even when you trim thick grass or weeds. When you choose a line made from 100% new nylon, you get better durability and fewer replacements. This means you spend less time changing the line and more time working on your yard.
Shape and Cutting Performance
The shape of your trimmer line affects how well it cuts. A round line gives you smooth, even results. It works well for most yard tasks and handles both grass and weeds. The round shape also helps the line move easily through the trimmer head. You get steady cutting action from all angles. This design reduces clogging and keeps your trimmer running smoothly.
Tip: For most home and commercial jobs, a round trimmer line offers the best balance of performance and ease of use.
Trimmer Compatibility
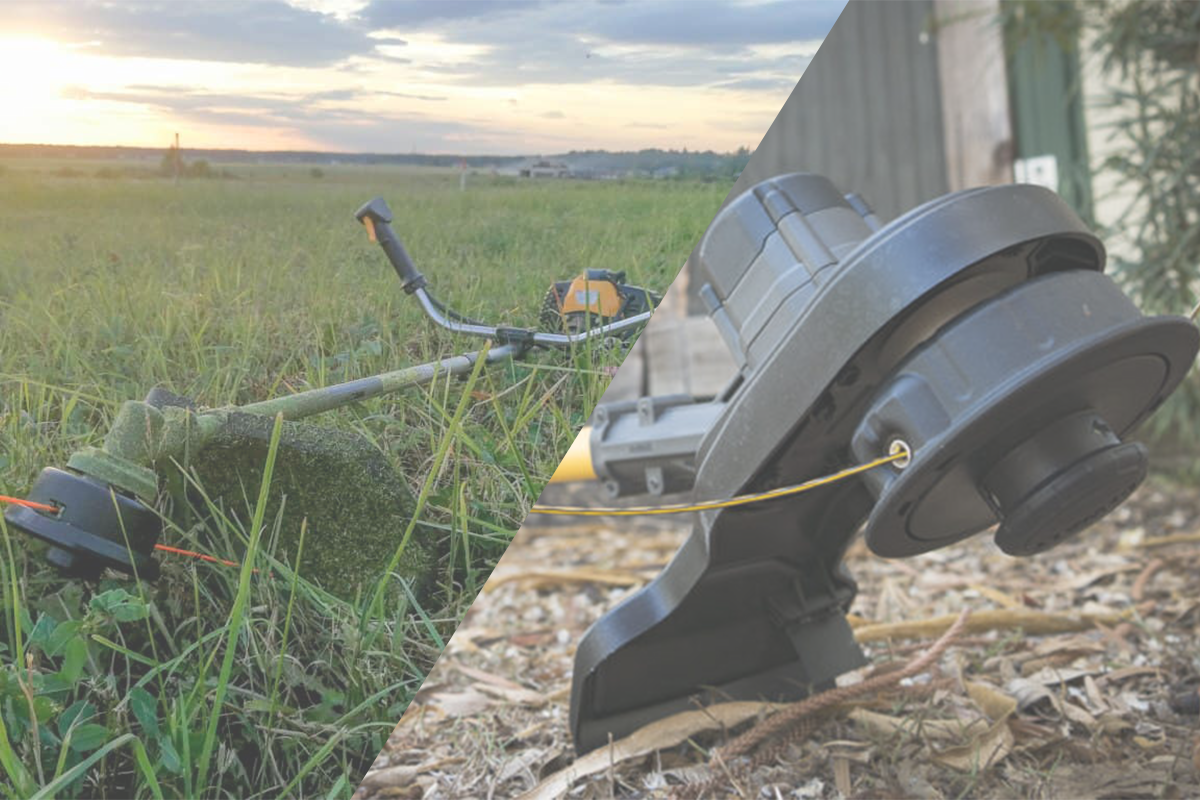
Always check if the trimmer line fits your trimmer model. The .120 inch size works with many trimmer heads, including Judin’s Weed Eater Head range. Using the right size prevents jams and keeps your equipment safe. Look at your trimmer’s manual or the packaging to find the correct diameter. Picking the right line ensures you get the best results every time you trim.
Expert Trimmer Line Usage Techniques
Trimming Angles for Best Results
You can improve your trimming results by paying attention to the angle of your trimmer. Hold your trimmer so the head stays level with the ground. This position helps you cut grass evenly and avoid scalping your lawn. If you tilt the trimmer head slightly, you can edge along sidewalks or flower beds with more control.
Tip: Keep the trimmer head at a 5 to 10-degree angle for the cleanest edge along hard surfaces.
When you trim around trees or fences, use a gentle angle. This protects the bark and keeps your line from wearing down too quickly. Practice holding the trimmer steady as you move. You will notice smoother lines and fewer missed spots.
Effective Motions for Clean Cuts
The way you move your trimmer affects the quality of your cut. Use slow, steady motions instead of quick swings. Move the trimmer from side to side in a smooth arc. This method lets the line do the work and gives you a more even finish.
- Start at the edge of the area you want to trim.
- Sweep the trimmer back and forth, overlapping each pass a little.
- Keep your pace steady to avoid uneven patches.
If you rush or use jerky movements, you may leave behind tall grass or damage your lawn. Let the trimmer line spin at full speed before you start cutting. This helps you get a crisp, clean cut every time.
Adapting to Different Yard Conditions
Every yard has unique challenges. You may face thick weeds, wet grass, or uneven ground. Adjust your technique to match each situation.
- For thick weeds, use a slower pace and let the trimmer line hit the base of the plants.
- In wet grass, lift the trimmer slightly to prevent clogging.
- On slopes or hills, keep your footing secure and trim across the slope, not up and down.
Note: Always wear safety gear, such as goggles and gloves, when working in tough conditions.
You can switch up your approach as needed. By learning how to adapt, you will get better results and protect your equipment.
Trimmer Line Maintenance and Storage
Inspecting and Replacing the Line
You should check your trimmer line before each use. Look for signs of wear, such as fraying, cracks, or thinning. A worn line can break easily and reduce cutting performance. If you see damage, replace the line right away. Follow your trimmer’s manual for the correct way to remove and install a new line. Using fresh line helps you get cleaner cuts and keeps your trimmer working well.
Tip: Always turn off and unplug your trimmer before inspecting or changing the line.
Storing Trimmer Line Properly
Proper storage keeps your trimmer line strong and flexible. Store unused line in a cool, dry place. Avoid direct sunlight, which can make the nylon brittle. You can keep extra line in a sealed bag or container to protect it from moisture and dust. Good storage habits help your line last longer and perform better when you need it.
- Store in a shaded area
- Use airtight containers for extra protection
- Keep away from chemicals or oils
Preparing the Line Before Use
You can improve the life of your trimmer line by soaking it in water for 24 hours before use. This step helps the nylon stay flexible and less likely to snap. Place the line in a bucket of water, then load it into your trimmer when you are ready to work. Flexible line gives you smoother operation and better results.
Note: Preparing your line helps you avoid early breakage and saves you time during yard work.
Avoiding Common Trimmer Line Mistakes
Essential Do’s and Don’ts
You can get better results by following some simple rules when using your trimmer line. Here are some important do’s and don’ts to remember:
Do’s:
- Do check your trimmer line before each use. Look for signs of wear or damage.
- Do use the correct size and type for your trimmer. This helps you avoid jams and poor performance.
- Do keep your trimmer line at the right length. Too short or too long can cause problems.
- Do store extra line in a cool, dry place.
Don’ts:
- Don’t force the trimmer into thick weeds. Let the line do the work.
- Don’t use a line that is too thin or too thick for your trimmer head.
- Don’t trim near hard surfaces like rocks or concrete for long periods. This wears down the line quickly.
Tip: Always wear safety gear, such as gloves and eye protection, when trimming.
Preventing Early Breakage
You can make your trimmer line last longer by using the right techniques. Keep the line flexible by soaking it in water before use. This step helps prevent snapping. Use slow, steady motions when trimming. Quick or jerky movements can cause the line to break. Avoid hitting hard objects, as this weakens the line. Replace the line as soon as you see signs of damage. These habits help you get the most from every spool.
 |
 |
 |
Troubleshooting Trimmer Line Issues
Handling Line Breakage
You may notice your line breaking more often than expected. This can happen if you hit hard surfaces or use the line at the wrong length. Always check that you have loaded the correct size for your trimmer. If you see the line snapping, slow down your trimming speed. Let the line do the work. Avoid forcing the head into thick weeds or against rocks.
Tip: Soak your line in water before use. This keeps it flexible and less likely to snap.
If you keep having breakage, inspect the trimmer head for sharp edges or damage. Replace any worn parts to prevent future problems.
Fixing Uneven Trimming
Uneven trimming can make your yard look messy. You can fix this by keeping the trimmer head level with the ground. Move at a steady pace and overlap each pass. If you see patches of tall grass, check if the line has worn down. Replace it if needed.
- Keep the head steady
- Overlap your trimming paths
- Replace worn line quickly
Note: Practice makes perfect. Try different speeds and angles until you find what works best for your yard.
Solving Compatibility Problems
Sometimes, the line does not fit your trimmer head. Always check your trimmer’s manual for the right size. The .120 inch line fits many models, including Judin’s Weed Eater Head range. If you have trouble loading the line, look for blockages or worn parts in the head. Clean the head and try again. If problems continue, contact the manufacturer for advice.
| Problem | Solution |
|---|---|
| Line does not fit | Check size and model |
| Hard to load | Clean trimmer head |
| Frequent jams | Inspect for damage |
You can get the best results by following these expert tips:
- Choose the right material and size.
- Use proper trimming angles and motions.
- Inspect and store your equipment well.
Regular care and correct technique help you achieve smoother, more effective trimming with your trimmer line.
FAQ
How do you know when to replace your trimmer line?
You see fraying, cracks, or thinning. The line breaks more often. Replace it right away for the best cutting results.
Can you use the .120 inch line with any trimmer?
Check your trimmer’s manual. Most trimmers accept .120 inch line, especially Judin’s Weed Eater Head range. Always confirm compatibility before loading.
What color options do you have for Judin’s trimmer line?
You get classic black as standard. You can also request custom colors to match your preference or job needs.
Tip: Custom colors help you organize your yard tools easily!
Post time: Jul-04-2025