


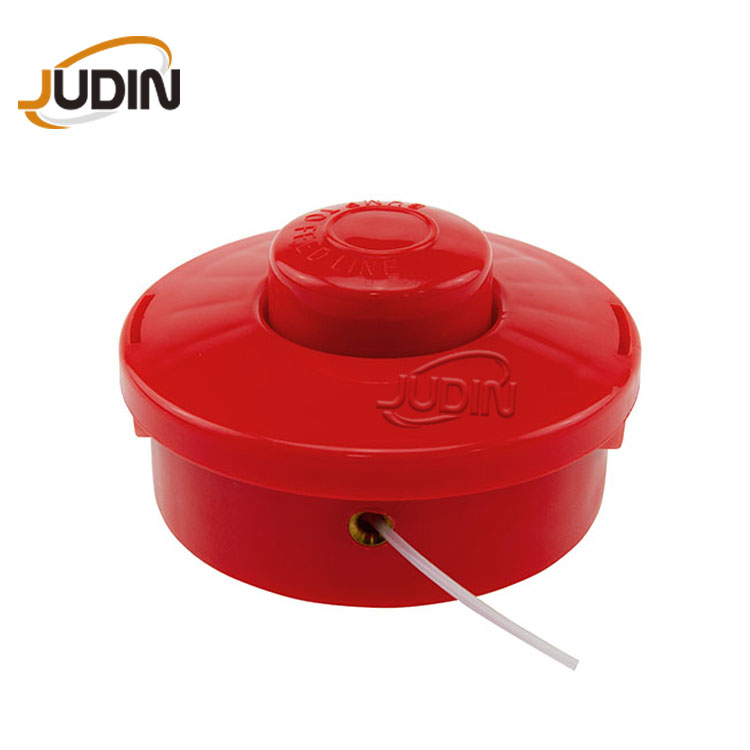
You can solve common JH-110PP trimmer head problems at home with basic tools. Issues like jamming, odd noises, or reduced cutting strength often have simple fixes. Regular care helps you spot when to repair, clean, or replace parts. Stay alert to keep your equipment working well.
Key Takeaways
- Check and clean your trimmer head regularly to prevent jams and keep it spinning smoothly.
- Replace worn nylon lines and damaged parts early to maintain strong cutting performance.
- Store your trimmer properly and avoid hard surfaces to reduce damage and extend its life.
Troubleshooting JH-110PP Trimmer Head Problems
Trimmer Head Not Spinning
If your trimmer head does not spin, you should check a few things right away. First, make sure the power switch is on and the trimmer is plugged in or has a charged battery. Next, inspect the drive shaft and the connection between the trimmer and the trimmer head. Sometimes, grass or debris can block the shaft. Remove any buildup you find. If the trimmer head still does not spin, look at the adaptor. The JH-110PP Universal Trimmer Head uses different adaptors for various machines. Make sure you have the correct adaptor installed tightly.
Tip: Always turn off and unplug your trimmer before checking or fixing the trimmer head.
Trimmer Head Jamming or Sticking
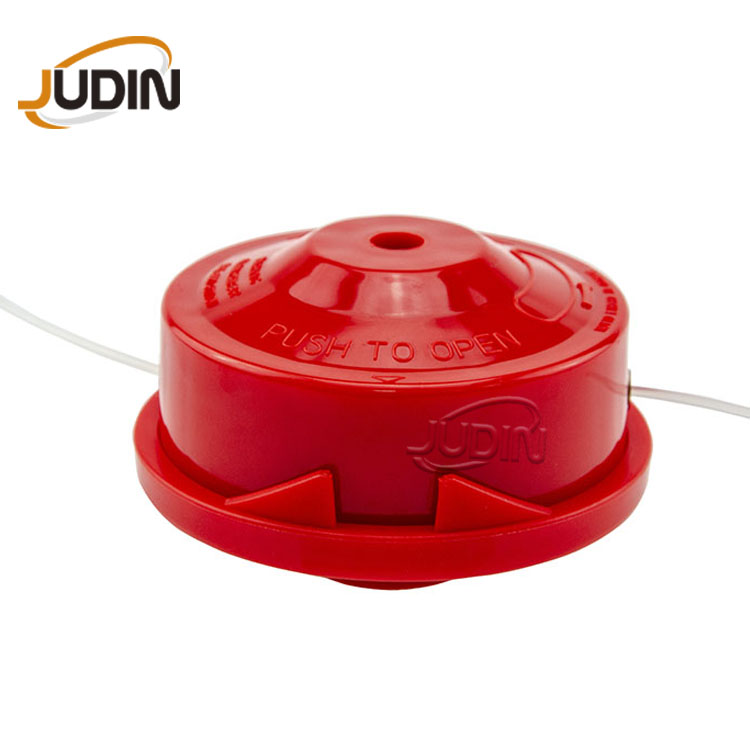
A trimmer head can jam if grass, weeds, or dirt get stuck inside. You should remove the trimmer head cover and clean out any debris. Check the double nylon line for tangles or knots. If the line is twisted, unwind it and reload it properly. The JH-110PP Universal Trimmer Head uses a tap-and-go system. Tap the head gently on the ground to feed more line. If the line does not advance, check for blockages in the line holes. Clean them with a small brush or compressed air.
- Remove the trimmer head cover.
- Pull out any tangled line.
- Clean the inside with a dry cloth.
- Reload the line if needed.
Unusual Noises from the Trimmer Head
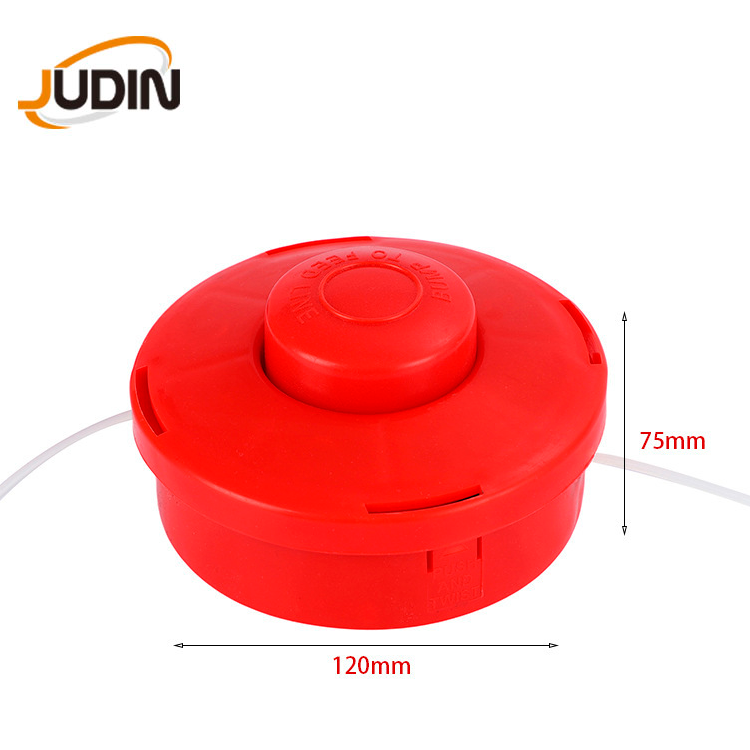
Strange sounds from your trimmer head can mean loose parts or worn components. Listen for rattling, grinding, or squeaking. Tighten all screws and bolts on the trimmer head. If you hear grinding, check the adaptor and the drive shaft for damage. Replace any worn parts. Sometimes, the nylon line can slap against the cover if it is too long. Trim the line to the correct length, usually about 2.4mm in diameter for the JH-110PP.
Note: Unusual noises often warn you about problems before they get worse. Fix them early to avoid bigger repairs.
Poor Cutting Performance
If your trimmer head does not cut well, check the nylon line first. A short or worn line will not cut grass efficiently. Replace the line with a new one of the right size. Make sure you use the double line system for best results. Clean the trimmer head to remove any stuck grass or dirt. If you still see poor performance, inspect the trimmer head for cracks or damage. Replace the head if needed. Always use the correct adaptor for your machine to keep the trimmer head working smoothly.
| Problem | Quick Fix |
|---|---|
| Line too short | Replace with new nylon line |
| Line tangled | Reload line properly |
| Head clogged with debris | Clean out grass and dirt |
| Damaged head | Replace with new trimmer head |
 |
 |
 |
Maintenance and Replacement for JH-110PP Trimmer Head
Routine Cleaning and Lubrication
You should clean your trimmer head after every use. Remove grass, dirt, and debris from the outside and inside. Use a dry cloth or a soft brush for this task. If you see sticky residue, wipe it away with a damp cloth. For smooth operation, apply a small amount of lubricant to the moving parts. This helps the trimmer head spin freely and reduces wear.
Tip: Always unplug your trimmer before cleaning or adding lubricant.
Inspecting and Replacing Worn Parts
Check your trimmer head for signs of wear. Look at the nylon line, the cover, and the adaptor. If the nylon line looks short or frayed, replace it with a new one. Inspect the cover for cracks or damage. Replace the cover if you see any problems. Make sure the adaptor fits tightly. If you notice loose parts, tighten them or get new ones.
Here is a quick checklist:
- Examine the nylon line for wear.
- Check the cover for cracks.
- Inspect the adaptor for a secure fit.
Preventing Future Trimmer Head Problems
You can prevent most problems by following a few simple steps. Store your trimmer in a dry place. Avoid using the trimmer head on hard surfaces like rocks or concrete. Replace the nylon line before it gets too short. Clean the trimmer head often to stop dirt from building up.
| Action | Benefit |
|---|---|
| Store in dry place | Prevents rust |
| Avoid hard surfaces | Reduces damage |
| Replace line early | Keeps cutting strong |
| Clean regularly | Stops jamming |
Regular care keeps your trimmer head working well and saves you time.
You can fix most JH-110PP trimmer head issues with simple steps. Regular checks help you spot problems early. Clean and maintain your trimmer head to keep it working well. If you feel unsure, read your manual or replace worn parts. This approach gives you smooth and easy trimming.
FAQ
How do you know when to replace the nylon line?
You should replace the nylon line when it looks short, frayed, or breaks often. Fresh line helps your trimmer cut grass better.
Can you use the JH-110PP trimmer head with any trimmer?
The JH-110PP fits most STIHL and ECHO models. Check your trimmer’s manual or the adaptor size to make sure it matches.
What should you do if the trimmer head keeps jamming?
- Clean out grass and dirt after each use.
- Reload the nylon line if it tangles.
- Make sure the line feeds smoothly.
Post time: Jun-30-2025